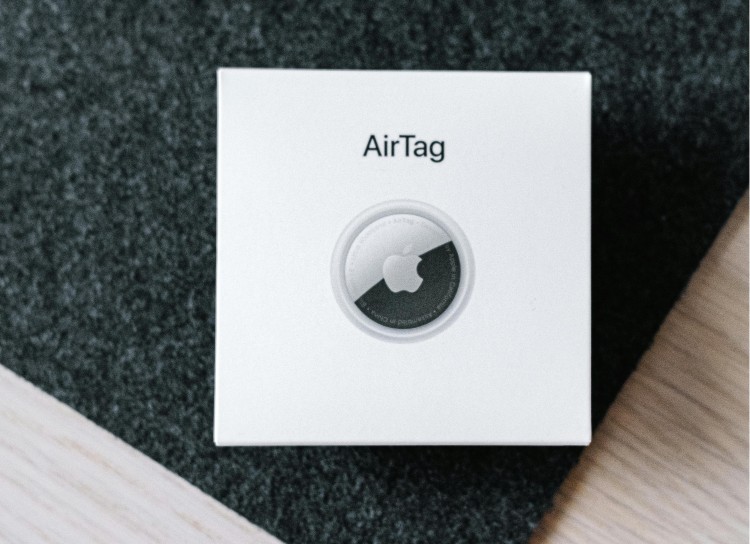
How to Replace AirTag Battery ? A Step-by-Step Guide

If you're an Apple AirTag user, you know how invaluable this tiny device can be for tracking your belongings. However, to keep it functioning optimally, you'll eventually need to replace its battery. In this guide, we will show you how to replace your AirTag battery. This will keep your device working well.
Why You Need to Replace Your AirTag Battery
Apple AirTags use a CR2032 lithium 3V coin battery, which typically lasts about a year. When the battery is low, the AirTag loses its ability to track items, rendering it ineffective. Therefore, timely replacement is crucial for uninterrupted tracking.
How to Know When Your AirTag Battery Needs Replacement
Before diving into the replacement process, it's essential to know when your AirTag battery is low. Apple provides two primary methods to check the battery status:
Method 1: Notification Alert
When the battery is critically low, your iPhone will send you a notification. This alert reminds you to replace the battery.
Method 2: Find My App
- Launch the Find My application on your iPhone.
- Click on the Items tab located at the screen's bottom.
- Choose the AirTag you wish to inspect.
- If the battery is low, you'll see a "Low Battery" warning under the AirTag's name.
Tools and Materials Needed
To replace the AirTag battery, you'll need the following:
- A new CR2032 lithium 3V coin battery.
- A small cloth or tissue (optional for handling the battery).
Step-by-Step Guide to Replacing the AirTag Battery
Follow these simple steps to replace your AirTag battery:
Step 1: Prepare Your Workspace
Find a clean, flat surface to work on. This will help you keep track of small parts and avoid losing them.
Step 2: Remove the AirTag from Its Case
If your AirTag is in a protective case, remove it carefully.
Step 3: Open the AirTag
- Press Down on the Battery Cover: Locate the polished stainless steel cover with the Apple logo. Press down firmly.
- Rotate Counterclockwise: While pressing down, rotate the cover counterclockwise until it stops. This should be less than a 180-degree turn.
Step 4: Remove the Old Battery
Lift off the cover to expose the old battery. Remove it and set it aside for proper recycling.
Step 5: Insert the New Battery
- Position the Battery: Place the new CR2032 battery into the AirTag with the positive side facing up.
- Listen for the Sound: The chime will signal that you have correctly connected the battery.
Step 6: Reassemble the AirTag
- Align the Tabs: Ensure the three tabs on the cover align with the three slots on the AirTag.
- Rotate Clockwise: Press down and rotate the cover clockwise until it stops.
Step 7: Test the AirTag
Open the Find My app to ensure the AirTag is functioning correctly. If it appears in the app without any low battery warning, you've successfully replaced the battery.
Safety Precautions
Choking Hazard
The AirTag, its battery cover, and the battery can be choking hazards. Keep these items away from small children.
Ingestion Hazard
CR2032 batteries can cause serious injury or death if swallowed. Always store new and used batteries out of reach of children. If you suspect someone has swallowed a battery, seek immediate medical attention.
Best Practices for Battery Replacement
Use Bitterant-Coated Batteries
To help prevent accidental swallowing, use a bitterant-coated CR2032 battery. An example is the Duracell 2032 lithium coin battery with a bitter coating. However, be aware that some bitterant-coated batteries might not work with AirTags. Always check the packaging for compatibility.
Stock Up on Batteries
If you have multiple AirTags, consider keeping a small stock of CR2032 batteries. This ensures you can replace them promptly when needed.
Proper Disposal
Recycle the old battery according to local regulations. Many electronics stores and recycling centers accept used batteries.
Troubleshooting Common Issues
AirTag Not Connecting
If your AirTag doesn't connect after replacing the battery, try the following:
- Ensure the battery is installed correctly with the positive side facing up.
- Check for any debris that might be obstructing the battery connection.
- Reset the AirTag by removing and reinserting the battery.
Low Battery Warning Persists
If the low battery warning persists even after replacing the battery, it could be because:
- A defective battery: Try using a different CR2032 battery.
- Software issue: Restart your iPhone and check the AirTag status again.
Conclusion
Replacing your AirTag battery is a straightforward process that ensures your device remains functional for tracking your valuables. By adhering to the instructions in this manual, you can effortlessly change the battery. This will ensure your AirTag continues to function optimally.
Changing the battery on time and following safety measures are important for your AirTag to work well. For more tips and guides on using Apple products, stay tuned to our blog. If you found this article helpful, feel free to share it with fellow AirTag users!
Call to Action
If you have any questions or need further assistance, don't hesitate to leave a comment below. For more tech tips and how-to guides, subscribe to our newsletter and follow us on social media. Happy tracking!

